
Nearly a century after its invention, the electromechanical Enigma cipher machine still strikes a deep chord among the digerati. Used by the German military to encode communications in the run-up to and during World War II, the Enigma has achieved a mythic quality in computing history—the Medusa slain by the hero Turing with the new weapon of digital logic.
Consequently, original Enigma machines are now collector’s items that sell for tens of thousands of dollars. Even replicas are pricey. So the only alternative for those wishing to get to grips with this machine—and to better understand the mathematical, engineering, and operational feats that defeated it—has been to use one of a number of software emulators. But now there’s a middle ground: a hardware kit that duplicates the physical operation of the Enigma’s keyboard, display, and plugboard while replacing the rotating metal discs at the machine’s heart with an Arduino Mega microcontroller.
The kit—called the Enigma Mark 4—was created by S&T Geotronics as an open-source project with development funded by a Kickstarter campaign. It’s available in three versions—one that has just the printed-circuit boards and basic components for US $200, one that includes a top panel and an Arduino Mega for $300, and a version that also includes a plugboard front panel for $425. I built the plugboard version for maximum verisimilitude and ease of use, but users of kits without this panel can program plugboard settings into the Arduino software.
Assembling the Mark 4 was mostly a straightforward exercise in soldering, but there were a few places where the instructions were a little unclear, such as how to wire up the battery pack or how to hold the faceplate of the plugboard in place. Still, there was nothing that couldn’t be figured out with a little thought.
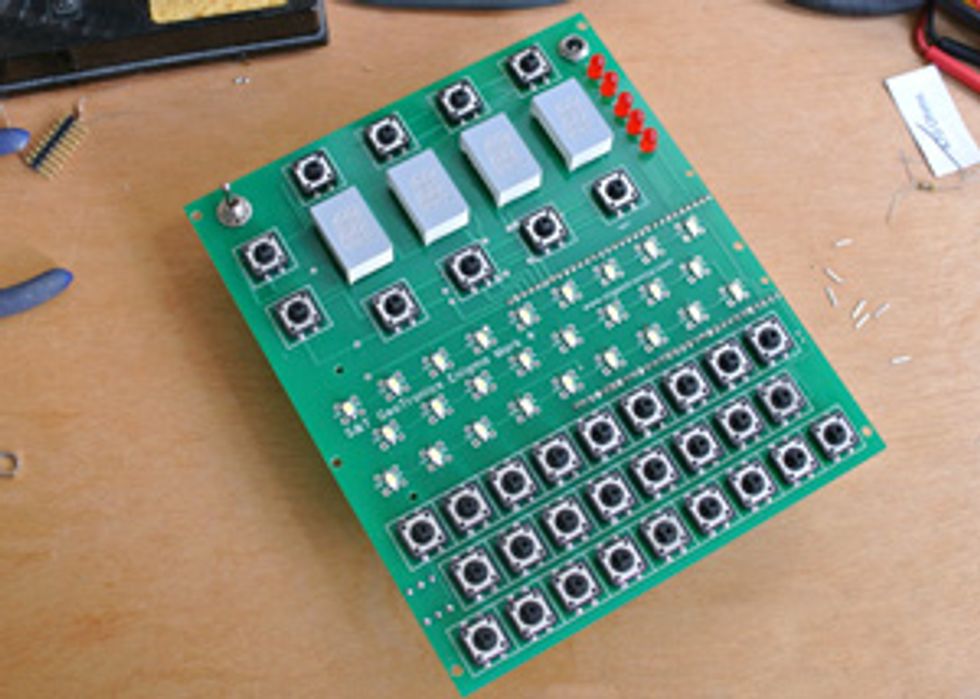
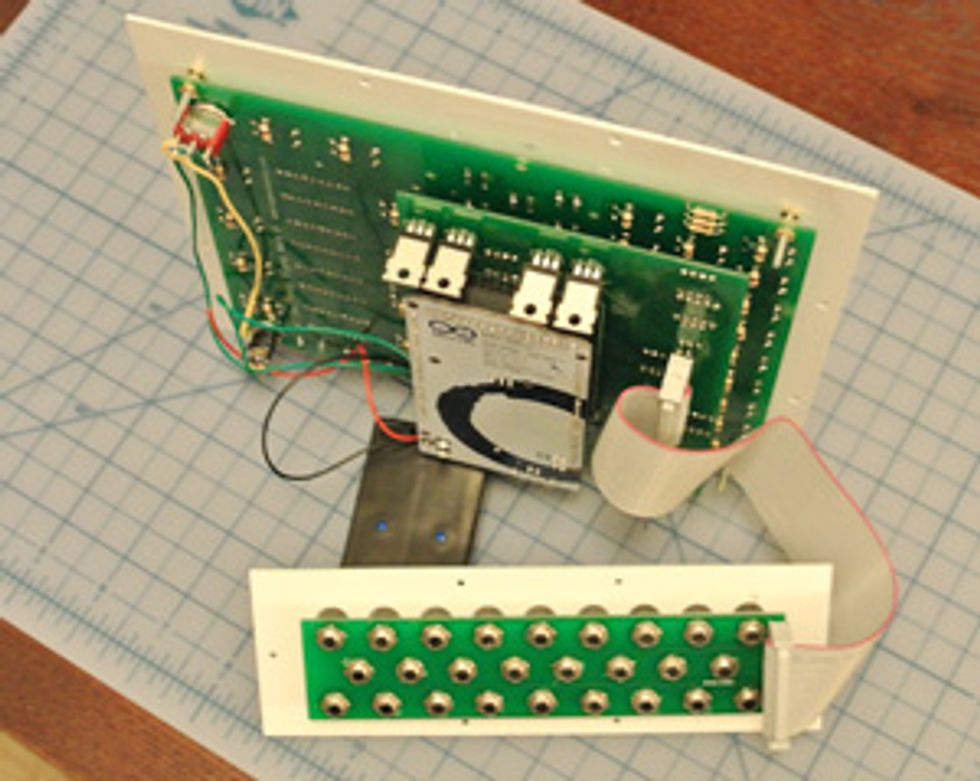
 Spinning Electrons: The keyboard and displays of the Enigma are replaced by buttons and LEDs (top), while its mechanical rotors are simulated by an Arduino Mega (blue and white circuit board, middle). I built a simple wooden case to house the circuitry (bottom).Photos: Stephen Cass (3)
The only truly fiddly part of this stage of construction was soldering the LED lights that form the Enigma machine’s alphabet display. These are small surface-mount LEDs and can easily slip out of place during assembly. I found that prizing the contacts a little off the body of each LED made them much easier to solder to the right spot on the motherboard. Once the various mother- and daughterboards were populated and connected together, I downloaded the software from the Open Enigma website and installed it via a USB cable connected to the Arduino Mega.
The Mark 4 does not come with a case, so I had to make my own (although you can now buy hand-built cases from S&T Geotronics for an additional $350). I built mine from basswood, making it a few centimeters taller than it needed to be so that I could have a space for storing unused plugboard cords underneath.
Initially—taking my lead from online pictures of some fully assembled kits—I built my case with the intent of mounting the plugboard immediately in front of the top plate. Unfortunately, when I tried to fit everything into the case, I discovered that the plugboard cable connector was pressing against the daughterboard that holds the Arduino Mega underneath the top panel. This made it impossible to fit the plugboard into place until I provided additional clearance by extending the front of the case with some spare beams of basswood.
At the core of an original Enigma machine lies a set of three or four rotors. Each rotor hard-wires pairs of letters together in its own unique pattern. This acts as a basic substitution cipher, so that A becomes H, for instance. When a key is pressed, a corresponding electrical signal is fed to the first rotor, whose output is used as the input for the next rotor. At the end of the series of rotors, a “reflector” passes the signal back through the rotors, where it then illuminates one of the letters on the Enigma’s display. Every key press advances the first rotor one notch (so that now A becomes G, while B becomes H, for example), and after a certain number of steps, each wheel advances the next rotor along a notch. The upshot is that every letter is encoded using a different combined substitution cipher, one that is not easily predictable without knowing the exact settings of the rotors.
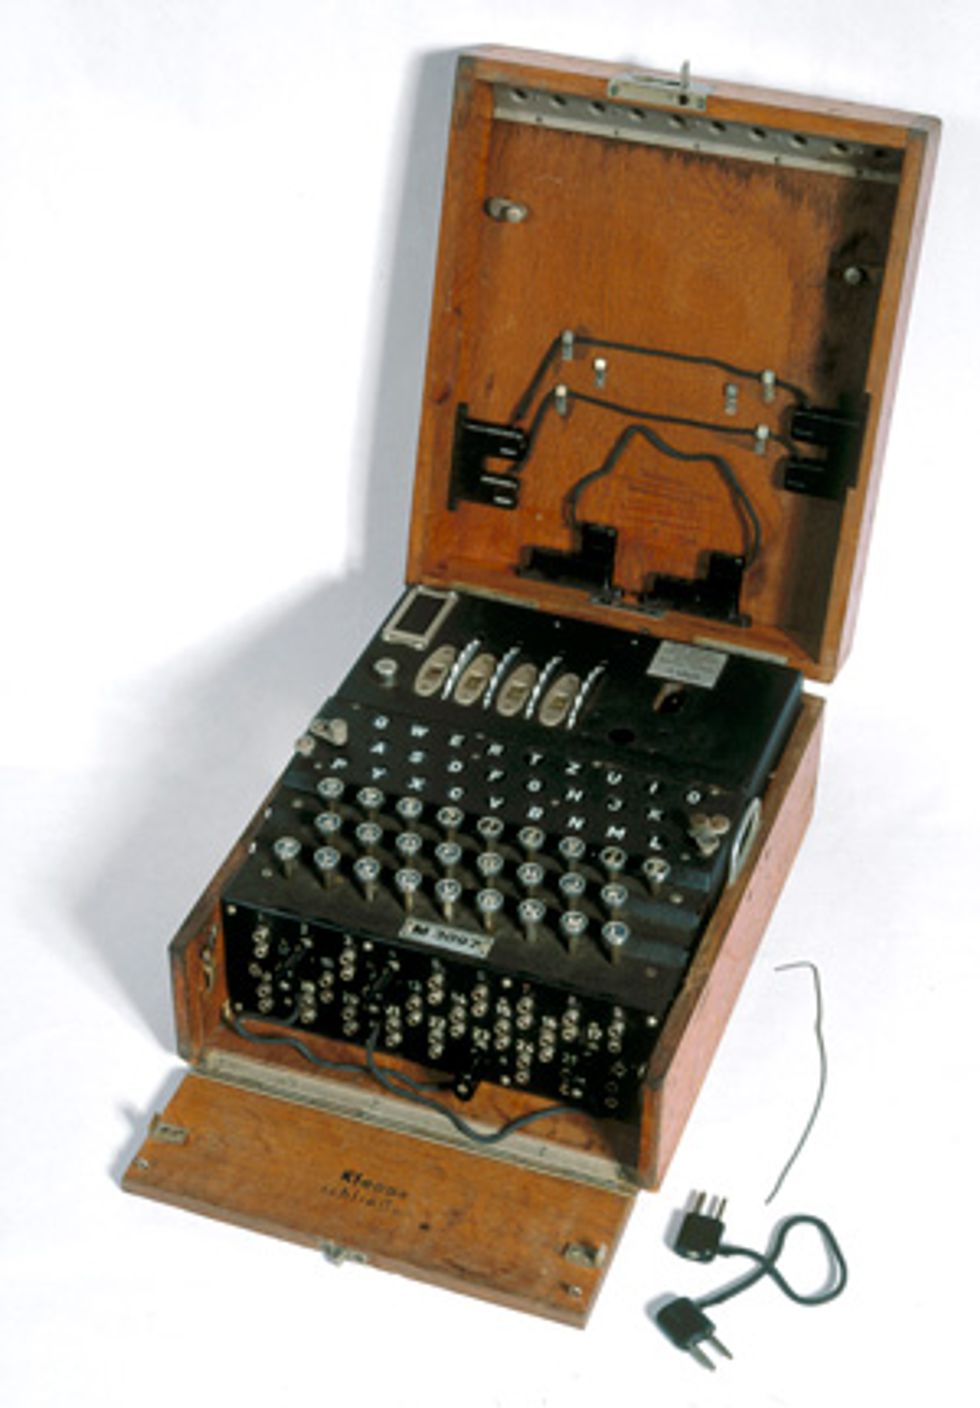 A War Machine: This Enigma can be identified as once belonging to the German navy, as it uses four encoding rotors—army Enigmas had only three.Photo: SSPL/Getty Images
On the Mark 4, you enter the various settings using buttons above and below four 16-segment LED displays. Operating the Mark 4 kit also requires you to decide how you are going to set up the plugboard, which lets you connect up to 10 letter pairs using patch cords. (The plugboard added significantly to the cryptographic strength of Enigma machines, being, in effect, a user-programmable rotor.) Depending on the settings, the Mark 4 can act as either a four-rotor navy Enigma or a three-rotor army machine, and it can code and decode genuine wartime messages.
Cracking the Enigma code required exploiting technical weaknesses of the rotor system, such as the fact that the reflector design means no letter can be encoded to itself. But the code breaking also critically relied on instances of operator error to provide insight into the machine’s settings. It’s much easier to understand these operator failures—such as only slightly varying rotor settings between messages—when one is confronted with a physical version of an Enigma.
Much more could be said about the operation and mechanism of an Enigma machine, but for now, let’s end with a message (Enigma purists will note that I’m dispensing with the initial three-letter session key used by World War II operators): Tweet the solution to @stephencass, and we’ll randomly select a winner for some IEEE Spectrum swag at the end of January. Plugboard settings: SC, HT, AL. Reflector: B. Rotors: B817. Inrings: IEEE. Outrings/rotor start positions: ALAN. Message: BKSGK ABYFF LUJAR JZ.
This article originally appeared in print as “A Simple Enigma.”