Home Modifications: Converting old family films to high-quality digital video can be done with inexpensive hardware and software.Photo: Joe Herman
My grandfather Leo was a self-taught electrical engineer and IEEE member who designed control systems for tire factories. He was also an avid photographer, and his eight children—and later, his grandchildren—were among his favorite subjects, right up to his death in 1974, when I was 5.
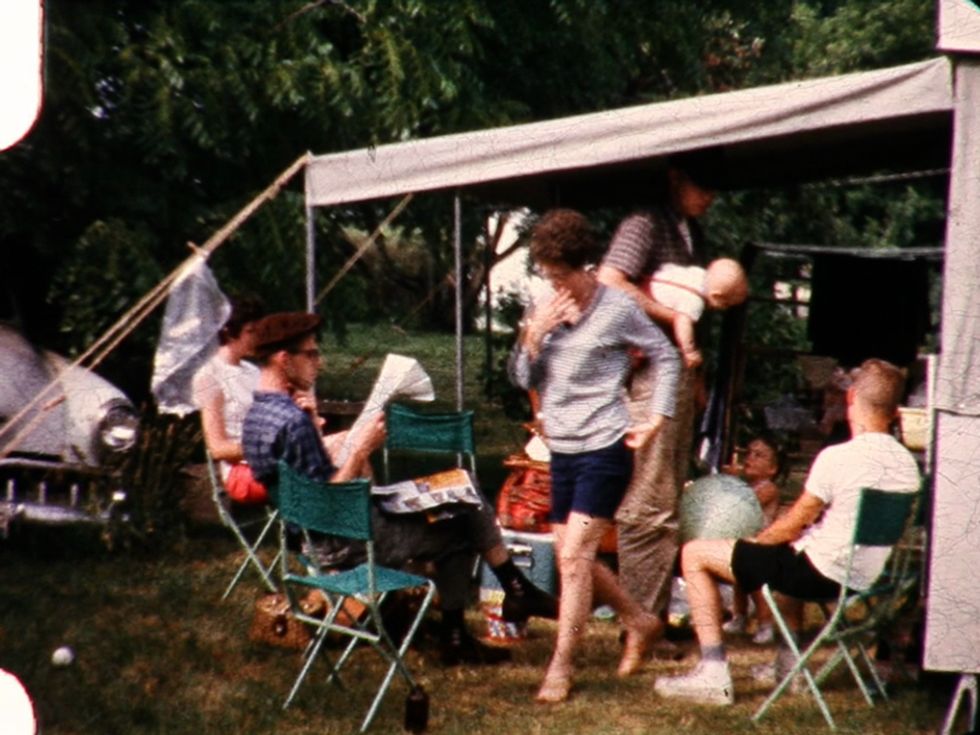
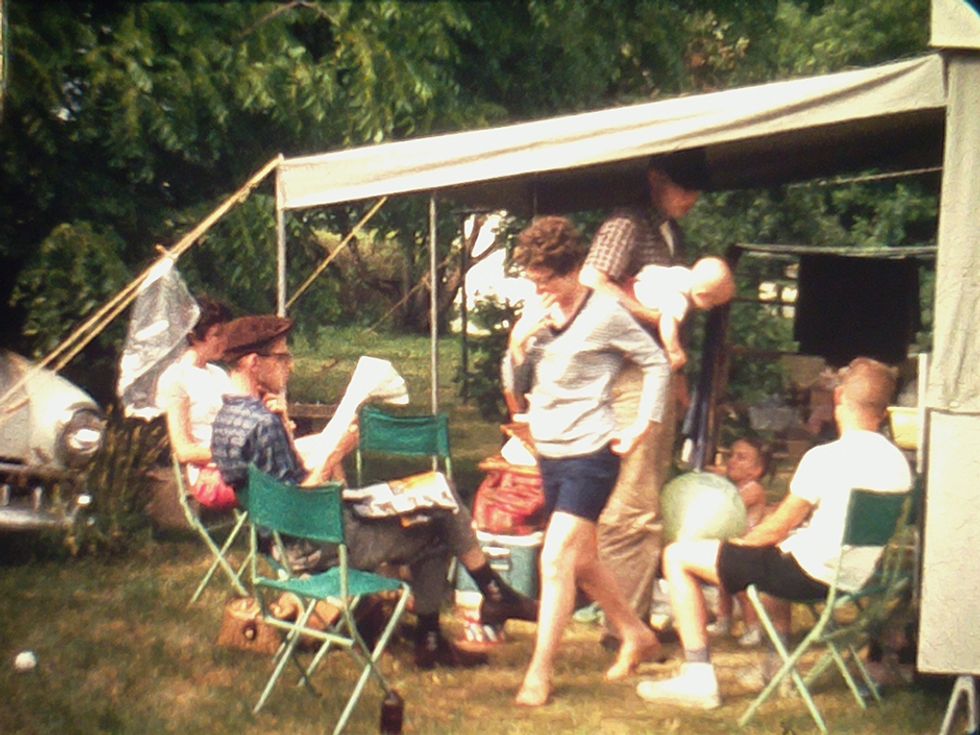
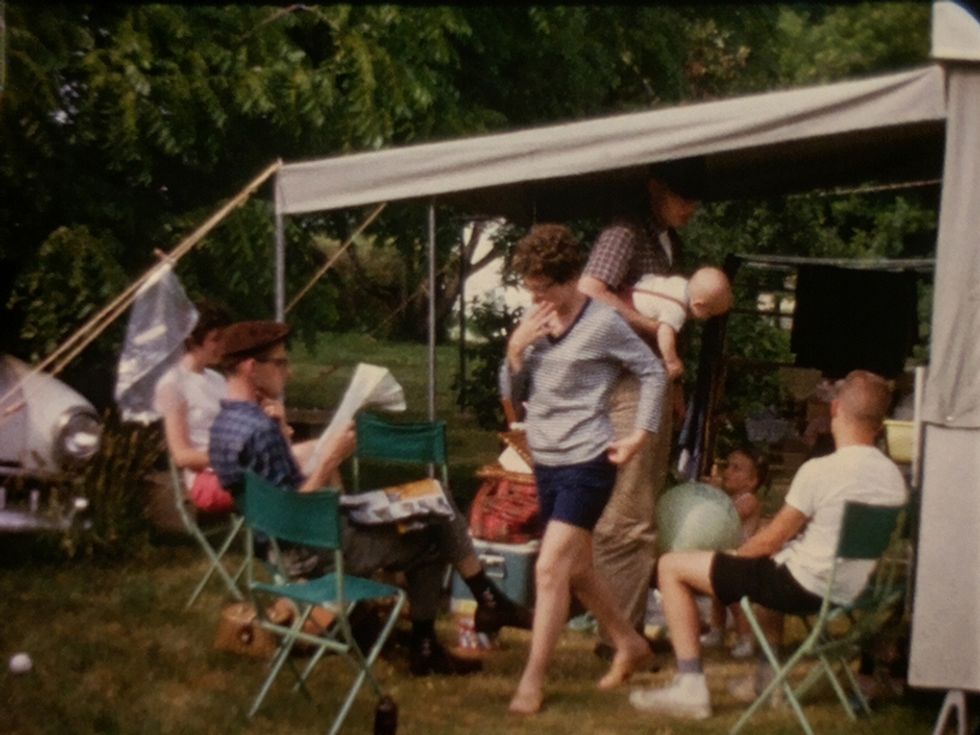
Fast-forward to 2013: During a move, my uncle uncovered a trove of more than 130 reels of Leo’s 8-mm and 16-mm home movies, some dating back to 1939. While commercial conversion services exist, converting so many reels would have been pretty expensive, so my cousin and I set out to preserve them digitally ourselves, to better share them with Leo’s enormous extended family.
 The Filmmaker: My engineer grandfather Leo Willmott captured decades of family moments with his camera.Photo: Joe Herman
First, a quick primer on film projection for digital natives. In a projector, a motor pulls film through a vertical “gate.” Each film frame is held still and flat in the gate while a lamp illuminates it from within the projector’s housing. Lenses on the other side of the gate focus the image so that it appears sharp on whatever surface the film is projected. Between the gate and the lamp, a rotating shutter wheel blocks the light while the next frame is sliding into position. (Without this shutter, the film would be one big blur.)

For our initial movie conversion attempt, we tried to record digital video directly from a projector. We mounted a DSLR camera attached to a series of lenses focused on the gate. We started the projector and camera, and everything initially seemed to be going great. The camera recorded video with excellent detail and color. However, it also highlighted the dirt, cracks, and scratches on many of the reels. Even more problematic, the speed of our projector—as with most—couldn’t be precisely controlled. This meant that even under the best conditions, mismatches between the frame rates of the projector and the camera resulted in rolling dark areas, flickering, and other artifacts. These, along with the dirt and scratches, could not be easily remedied digitally.
Going back to the drawing board, we learned that a frame-by-frame transfer—capturing a still image of each film frame and then converting the collection of images into a video—gives far superior results. The still images, in particular, are quite amenable to digital postprocessing. Such transfers are usually performed on specialized equipment for high fees. Fortunately, I remembered there was a spare Super 8 projector in my basement and an unused Raspberry Pi in my closet, and that a Pi camera was just US $30. Could we do a frame-by-frame transfer with these?
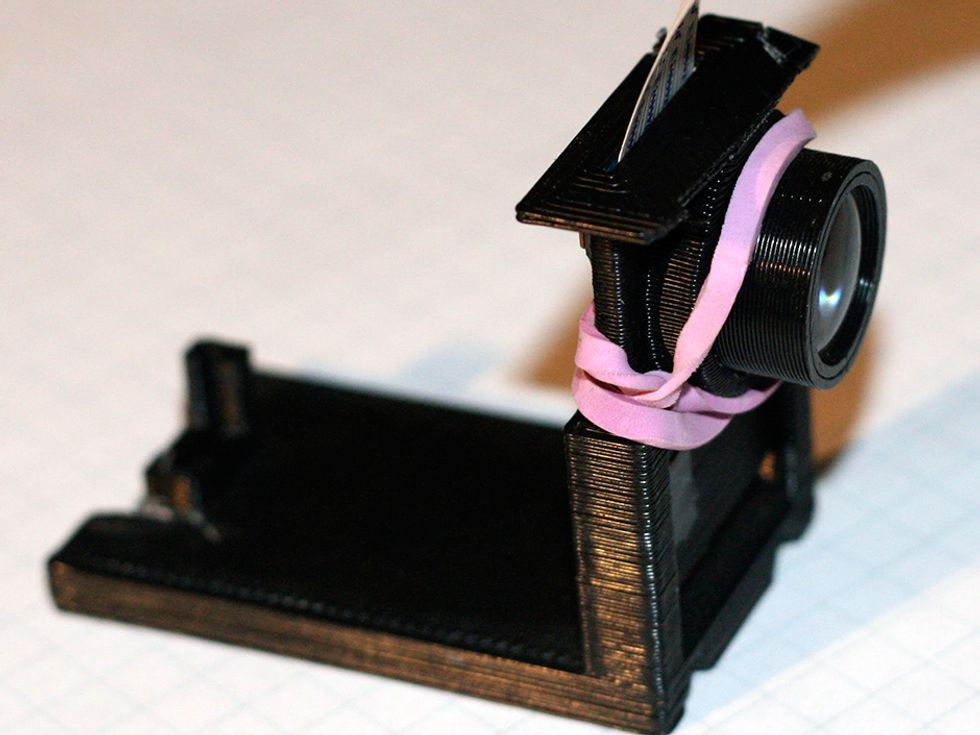
Camera mount for setup.
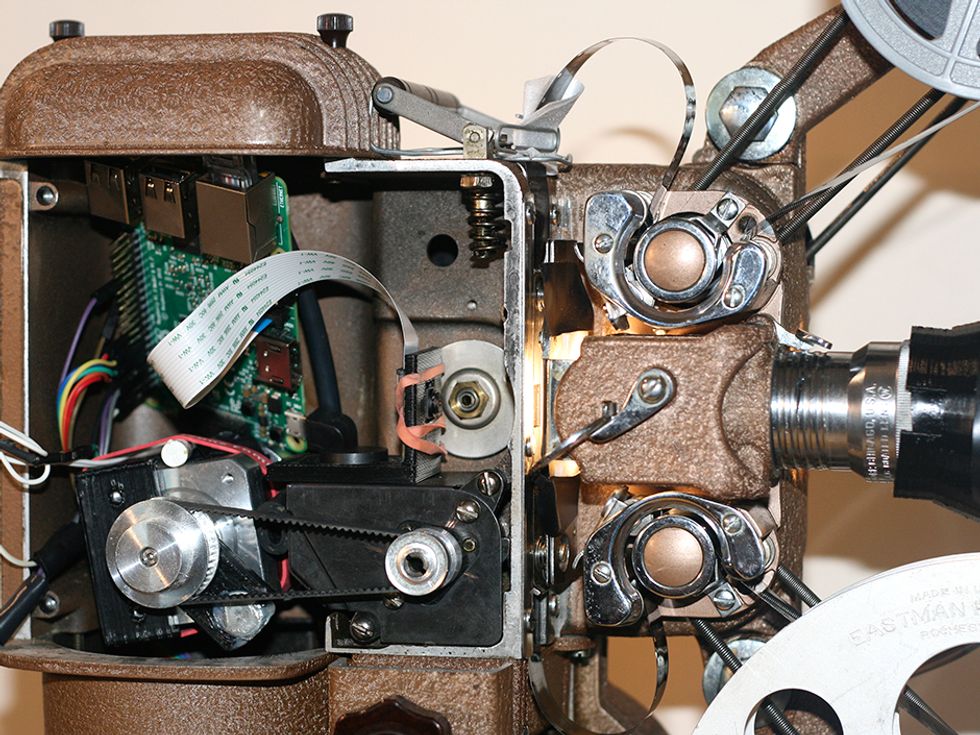
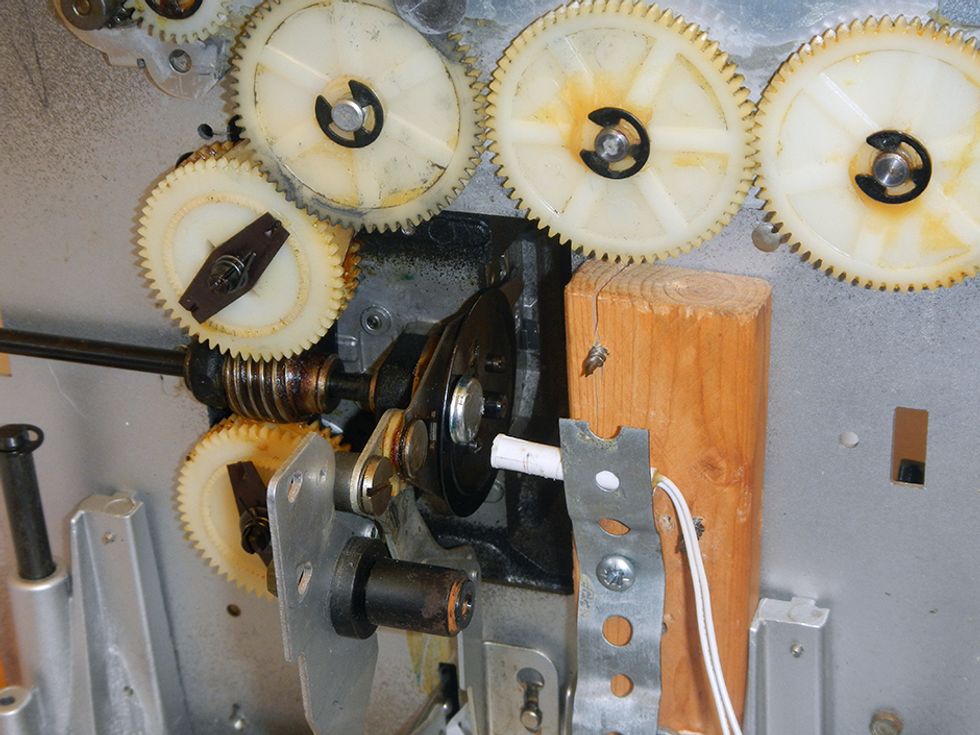
I removed the projector’s motor and shutter wheel. I connected a small 60-rpm 12-volt motor to the projector’s drive shaft using a section of thin fuel hose. Some basic interfacing electronics let me control the motor’s speed and direction with the Pi. Then I attached a small magnet to the drive shaft so that a reed switch would close each time the film advanced one frame. This switch was connected to the Pi so that it would trigger the Pi camera.
The Pi camera’s strength is that it’s very easy to control using Python software libraries. This is a huge asset for a project requiring precise timing and color and exposure adjustments. But the Pi camera’s fixed-focus lens isn’t designed for close-up photography, and replacing it with a different lens produces severe color vignetting. Luckily, by carefully unscrewing the lens nearly all the way out of its housing, I was able to bring the Pi camera’s focal distance down to about 20 mm. By adding an additional magnifier lens, I could get a nice sharp image of an 8-mm frame in the gate.
Positioning the camera close enough to the gate required mounting it in the projector’s housing, so I placed my LED light source “backward,” shining down the projector’s original lens toward the film. Placing a diffuser (a bit of translucent white plastic from an old ceiling fixture) as close to the film as possible helped to hide scratches and age-related cracks in the film’s coating.
Excited by this success, I started capturing films, but it soon became unbearably tedious. First, I had to run the system more slowly than I expected (under a frame per second) to ensure consistent behavior from the motor and accommodate delays caused by the Pi’s slow file system. I also had no way of easily viewing images and adjusting camera settings midcapture, so I found myself having to recapture entire reels with new settings. Most worrying, after a few reels it was clear that the Pi camera’s relatively low dynamic range relative to that of the films was wiping out a lot of detail in high-contrast scenes.
A year (and lots of programming) later, though, I’ve managed to address each of these issues. To deal with the most critical—the high dynamic range of the films—I employ the same approach as smartphones do in similar circumstances. I shoot multiple images per frame with different exposures (two or three is usually enough) and combine them into a single image using functions available in the OpenCV library.
DSLR photo.

This requires significant processing, so instead of saving images on the Pi, I stream them via Ethernet to a PC running Linux desktop. This also eliminates the bottleneck of the Pi’s file system. I further increased capture speed by swapping out my original motor for a more reliable NEMA 17 stepper motor. Using my fastest settings, I can now capture at more than 2 frames per second.
I built a GUI control panel for the Linux machine using PyQt, which lets me monitor captures on the fly and adjust settings.
Postcapture, I can quickly recombine a reel of images into a movie using one FFmpeg command. When advanced restoration is needed, I use AviSynth, a free video-processing tool for which others have written scripts tailored specifically for film restoration.
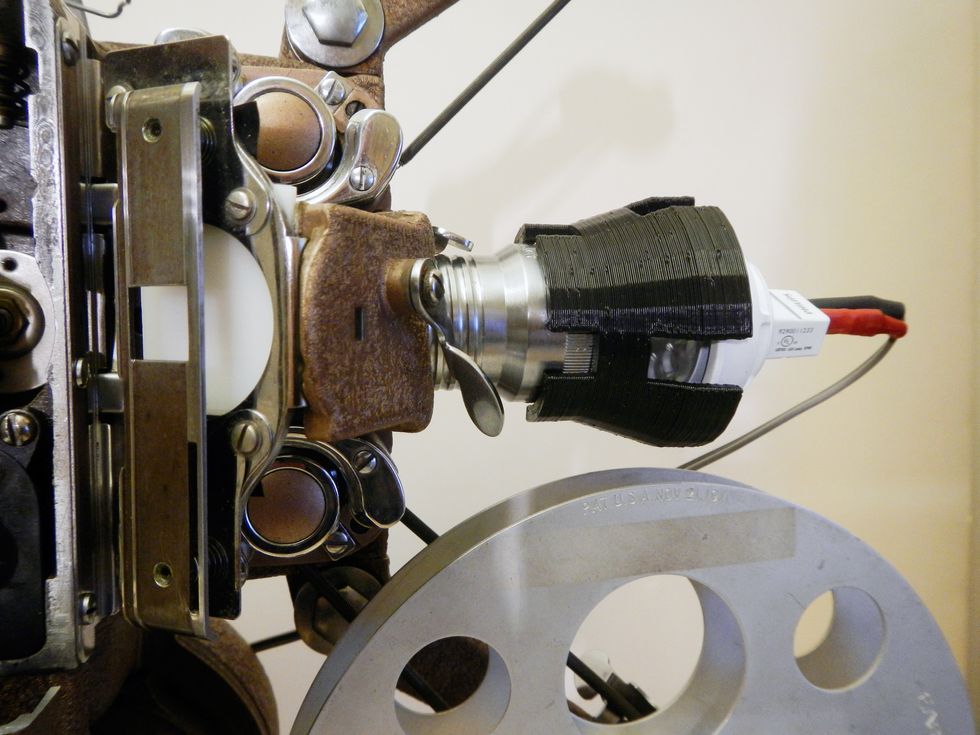
I have now built this setup three times: on 8-mm, Super 8, and 16-mm projectors. On the 16 mm I was able to embed the Pi, camera, and motor into the lamp housing to create a portable capture rig. I’m still developing the software, but so far I’ve captured about 7 hours of footage—nearly half a million frames—and the results are beautiful. It has been a long project, but being able to revisit—and share—such precious family history has made it more than worthwhile.