
I’ve been recently engaged with some fairly serious projects, building up my garage semiconductor fab. I wanted to take a break and build something entertaining I could share with other people without the complicated explanations that things like a laser interferometer often require. So I decided to make a digital camera that’s purposely got a lower resolution than a smartphone cam but is a lot more fun.
I decided to convert a Polaroid instant camera—the sort that spits out self-developing paper photographs—into a digital camera. Initially, I was planning to stop there: If I wanted to print out any of the photos I would simply grab them via a wireless connection. But I felt that wasn’t in the spirit of a Polaroid, so I began researching printers. Once I found out that Adafruit sold the guts of a thermal printer for US $40—just the print head and driver board from a thermal receipt machine—I immediately knew it was perfect for adding instant photographs.
Getting an old Polaroid was easy—they are a dime a dozen on eBay. But I took the time to find one where the case was in almost perfect condition (it cost me $15). I opened the case to begin working out how to take out the existing hardware, while still leaving enough internal structure to support my new electronics. And I must say, the original design is stunning. I recommend that anyone who has an old Polaroid lying around to take it apart. There’s not a single screw in the camera—it’s all fitted together with tabs. But I quickly realized that there was far less usable space inside the case than might be expected, because the shape is so strange and triangular and all the new circuit boards I intended to fit inside it are rectangular. About two-thirds of the project was just cutting out plastic with a Dremel tool and hoping that I didn’t cut out too much.
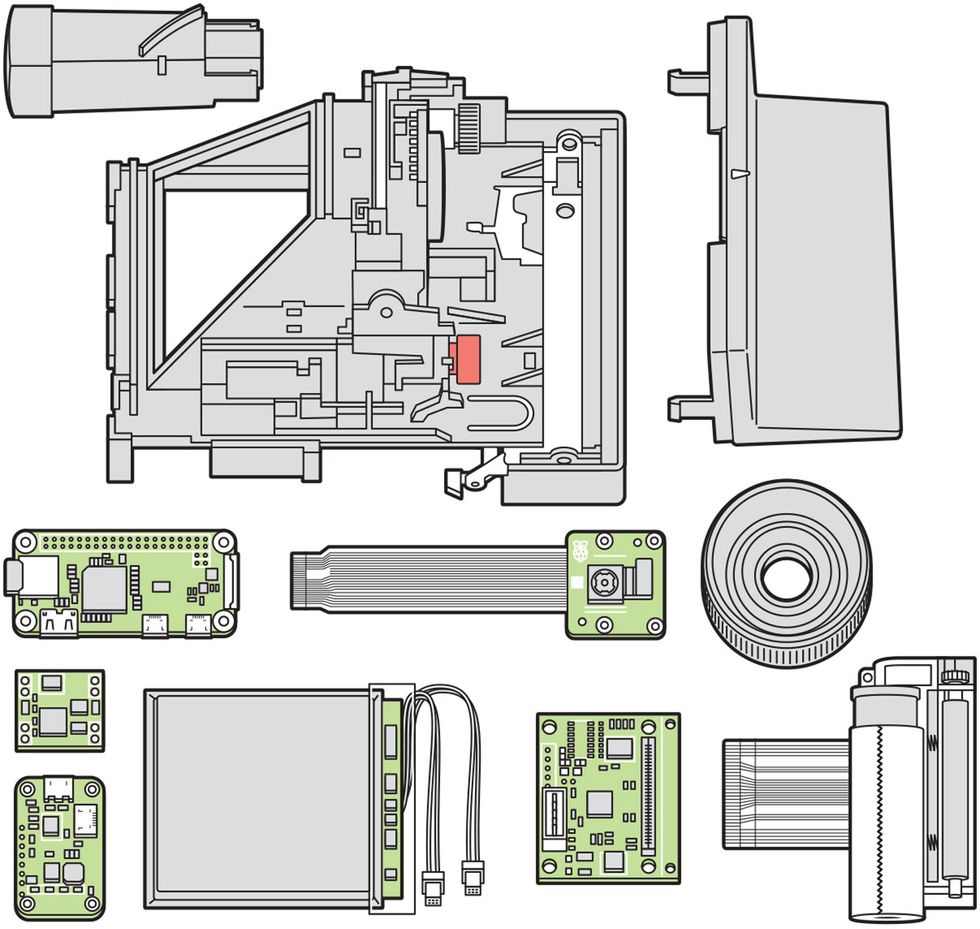 Cram Session: Once the original innards of the Polaroid were removed, I was left with an awkwardly shaped volume. I carefully removed plastic supports until there was just enough room to hold the Raspberry Pi Zero W, camera module, printer, battery, and other supporting electronics. You operate the camera by looking through the viewfinder and pressing the shutter button, as usual.Illustration: James Provost
For the controller, I used a Wi-Fi–enabled Raspberry Pi Zero W attached to a standard Pi-compatible camera module and the thermal printer driver board. I made a spool out of a brass rod to hold the printer paper. I turned the ends of the rod on a lathe so I could add a magnet to either end, and I glued corresponding magnets inside the camera. This lets me just snap the rod in place when replacing the paper. Each roll is long enough for about 150 photos.
My electronics are powered by two 3,000-milliampere-hour LiPo (lithium-polymer) batteries wired in series to provide the 7 to 8 volts needed by the printer driver. A step-down buck voltage converter provides the 5.1 V required by the Pi, and I get about 12 hours between charges with typical use.
I was able to cram in all the electronics and close up the case so that it all looked and felt like a untouched Polaroid: You can look through the viewfinder, and the shutter button is the same button, in the same place.
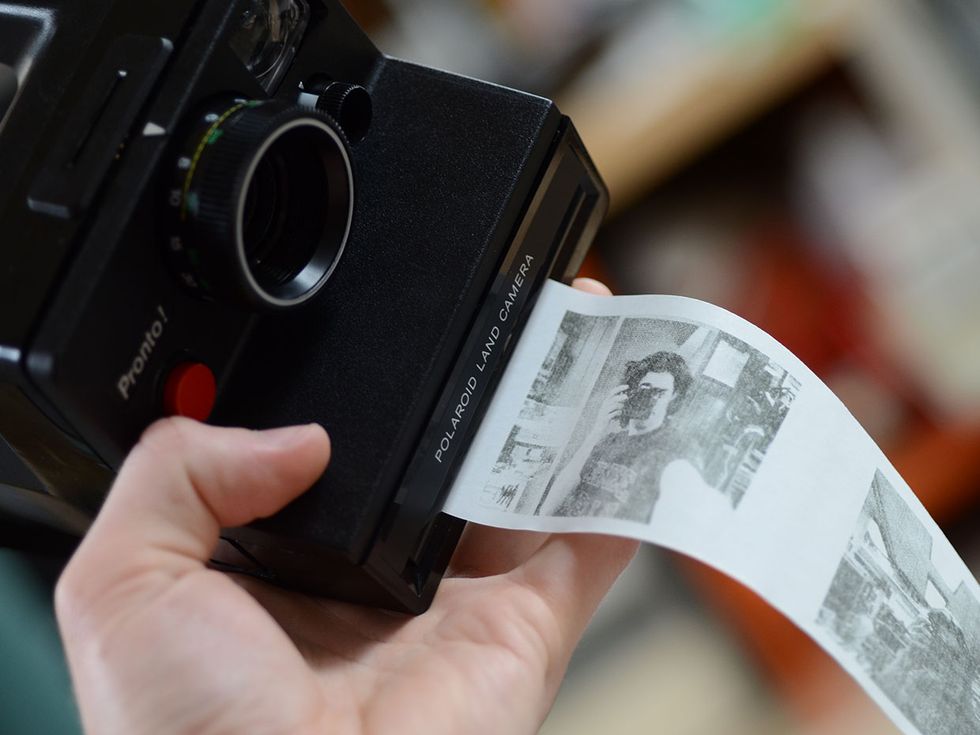 On a Tear: The modified camera can hold enough paper for about 150 photographs. High-resolution color copies can be downloaded via Wi-Fi.Photo: Sam Zeloof
But my goal was to make a digital camera that didn’t just look like the original but behaved like it, too: Press the shutter and snap!—a photo emerges. I discovered I was not the first to convert a Polaroid to print out images on thermal paper, but in similar projects I looked at there was a delay of several seconds between pressing the shutter button and actually taking the photograph.
The source of the delay is how the Raspberry Pi handles taking still images. This is typically done by calling a standard utility program each time you want to capture an image. When the utility launches following a shutter press, it starts adjusting the brightness and contrast from scratch, which is a slow process. But by looking at the utility’s code I realized there was also a preview mode where, crucially, the brightness and contrast are continually adjusted, eliminating the delay. (Normally, this mode is used to stream whatever is in the camera module’s view to a connected HDMI monitor.)
So as soon as my camera is turned on, I launch the utility as a background process and simply ignore its output most of the time. When the user presses the shutter, I send a signal to this process, which instantly captures the image. I then relaunch the utility in the background, ready for the next shot. A high-resolution color copy is saved, and a monochrome lower-resolution image is sent to the thermal printer.
I added two more flourishes to heighten the Polaroid experience: When an image is captured, I play a short shutter sound through a 2.5-centimeter speaker. And using a Python image-manipulation library, I add a yellow, seven-segment-style date stamp to the corner of the saved color image.
With a Wi-Fi connection, I can transfer the files wirelessly for later high-quality printing. Meanwhile, instant photos are printed, to share and enjoy in the moment. Normally with a DIY project, there’s always some quirks—it’s never quite as user friendly as an off-the-shelf thing. But with this conversion, I can bring it somewhere and hand it to someone. Without any explanation they instinctively treat it as a camera, and point and shoot. While we’re currently in a time of social distancing in much of the world, I’m ready to capture and share some memories when better times come again.
This article appears in the October 2020 print issue as “Hack a Polaroid With a Thermal Printer.”
About the Author
Sam Zeloof is an electrical engineering undergraduate at Carnegie Mellon University.


